SPF stands for Sender Policy Framework, which is an email authentication method that helps prevent email spoofing and phishing attacks. SPF allows domain owners to specify which IP addresses are authorized to send emails on behalf of their domain.
In G Suite, you can use SPF to specify which mail servers are authorized to send emails from your domain. This can help prevent unauthorized use of your domain in phishing or spamming attempts.
To use SPF in G Suite, you will need to create a DNS TXT record that specifies your SPF policy.
Here are the general steps for setting up SPF in G Suite:
Step 1: Log in to your domain registrar or DNS provider and access your domain's DNS settings. (For example, the Domain registrar is Godaddy)

Step 2: Domain -> manage DNS

Step 3: Add New Record
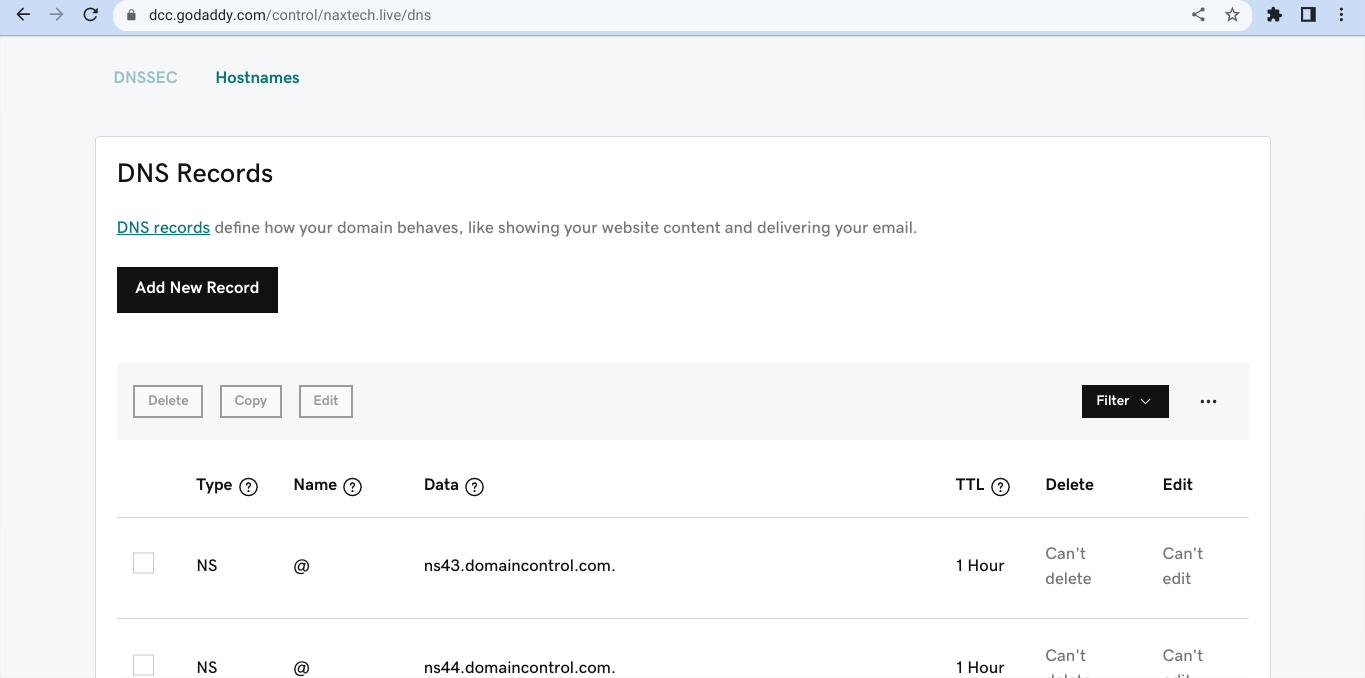
Step 4: Create a new DNS TXT record for your domain.

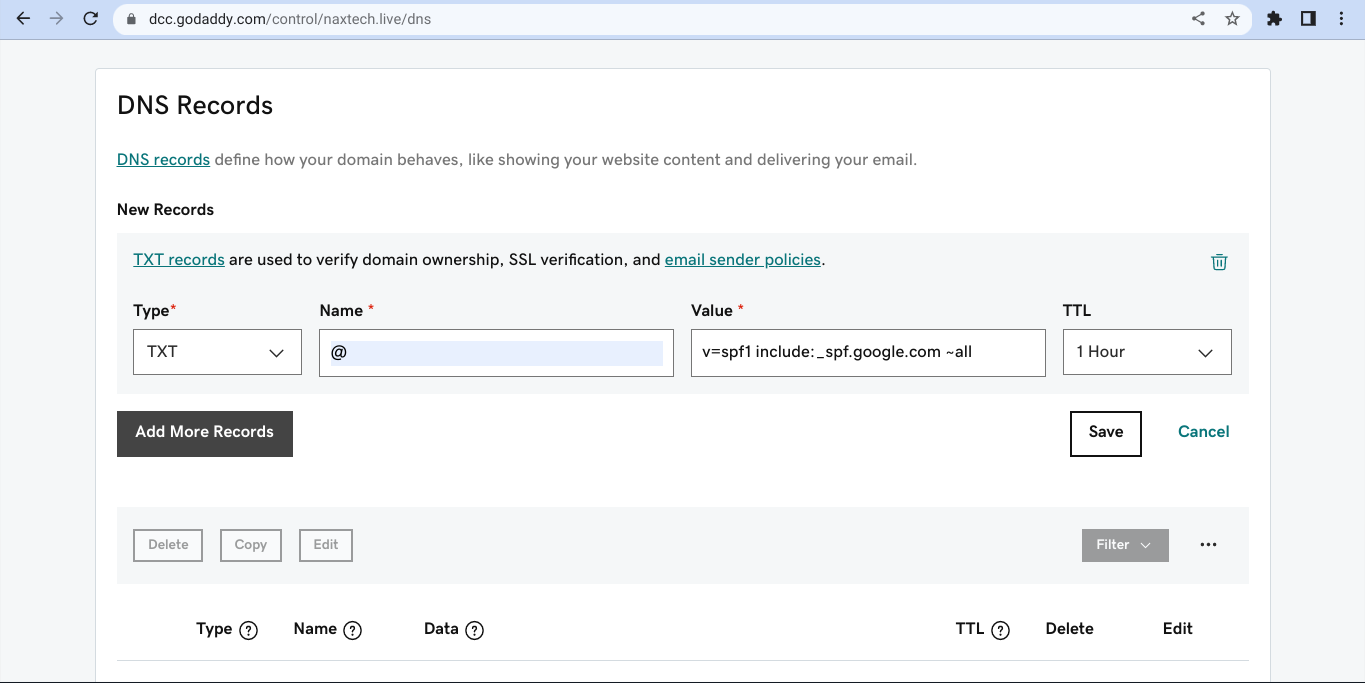
Step 5: -> Select txt as a “Type”
-> In the “Name” field @
Note: If you're adding an SPF record for a subdomain, enter the subdomain instead of @.
-> In the value "Value" field, enter your SPF policy, which specifies which IP addresses are authorized to send email from your domain. You can use the G Suite SPF record as a starting point: "v=spf1 include:_spf.google.com ~all"
-> TTL = 1 hour or 3600 Seconds
Step 5: Save the DNS record.
Once you have set up your SPF record, email servers that receive messages from your domain will check the SPF record to ensure that the message is coming from an authorized source. If the message fails the SPF check, it may be marked as spam or rejected entirely.
It's important to note that setting up SPF is just one step in securing your domain's email. It's also recommended to use other email authentication methods, such as DKIM and DMARC, to further improve email security.
Please find the below Google article for your reference.
https://support.google.com/a/answer/10684623?hl=en#add-record