SMTP (Simple Mail Transfer Protocol) Relay is a G Suite service that allows you to send outgoing emails from your organization's email addresses using Google's mail servers. This service is useful if your organization has devices or applications that need to send emails but don't have their own mail servers.
Here are the general steps for setting up SMTP Relay in G Suite:
Step 1: Log in to the G Suite Admin console using an account with administrative privileges.
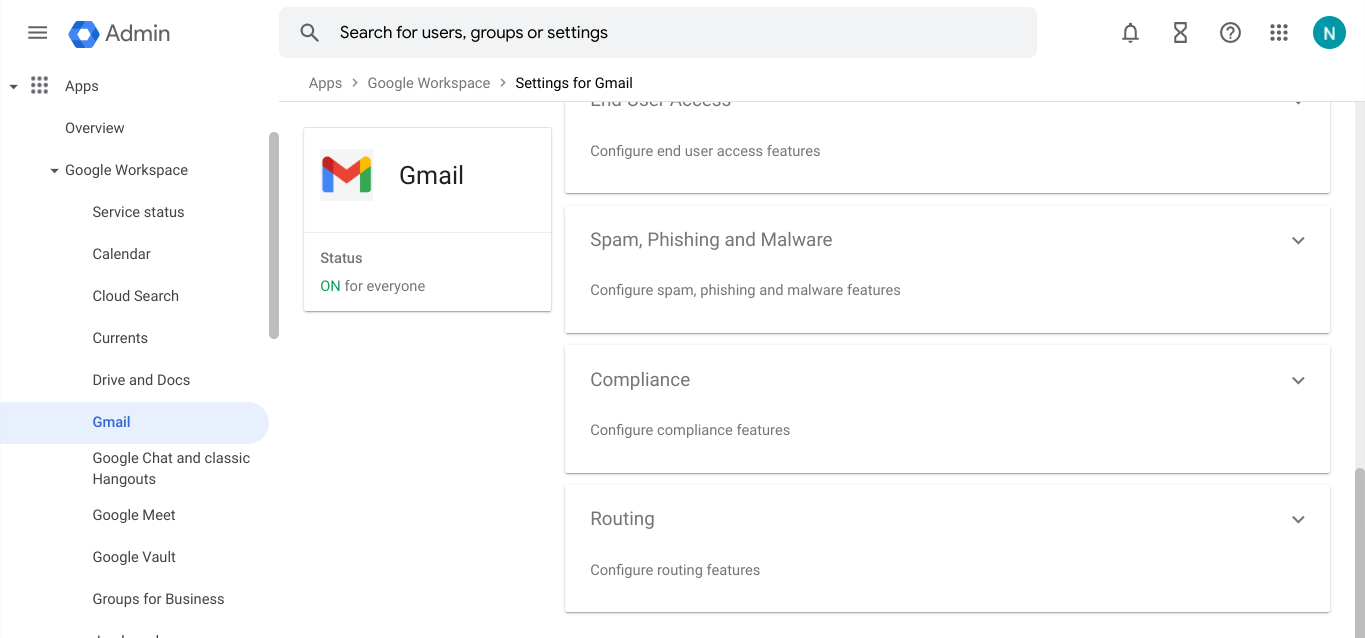
Step 2: Navigate to "Apps > Google workspace > Gmail > “Routing"
Step 3: Scroll down to the "SMTP relay service" section and You can add, edit, and delete the SMTP relay service setting at the top-level organization only. You can view the setting at the child organizational unit level.
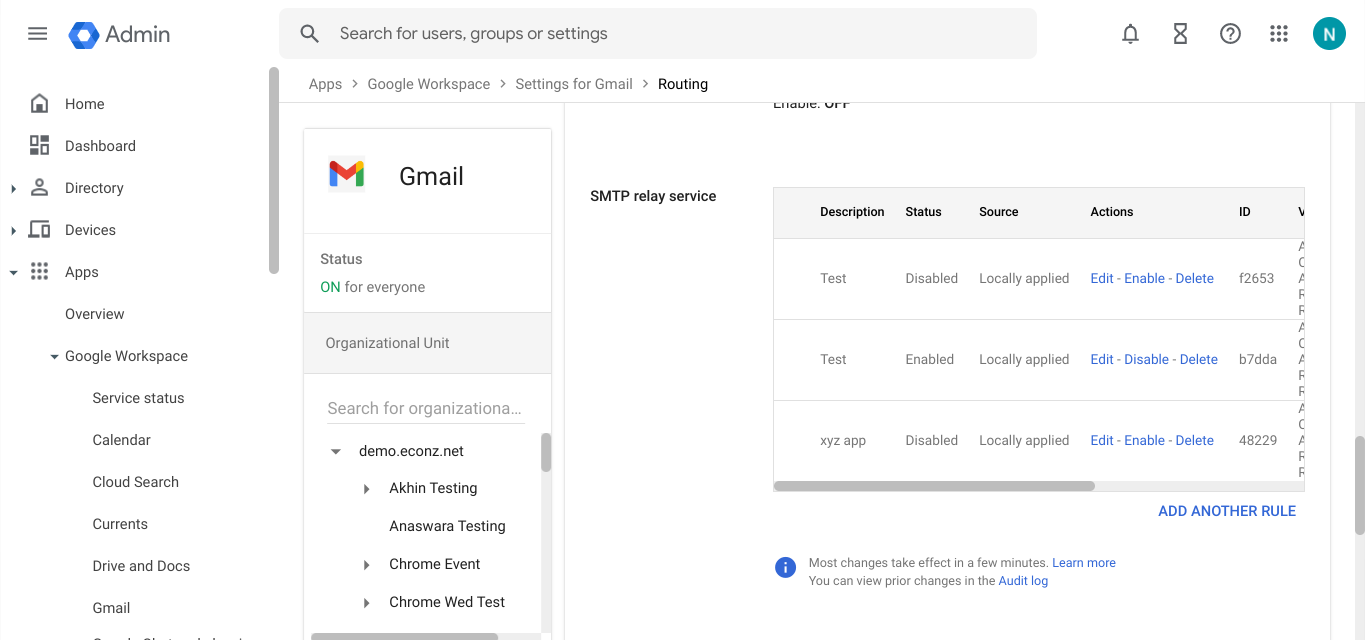
Step 4: Enter a name for the setting and set up the following options:
Allowed senders:
-> Only registered Apps users in my domains—Sender must be a Google Workspace user in one of your domains.
-> Only addresses in my domains—Sender doesn't have to be a Google Workspace user, but must be a user in one of your registered domains. This option is useful when you use third-party or custom applications to send messages.
-> Any addresses (not recommended)—The sender's address can be any email address, including addresses outside of your domain. This option makes you more vulnerable to abuse, either by malicious software on your users' devices or by incorrect SMTP settings.
If you use any address option and send messages from a domain that you don't own or with an empty envelope from (for example, bounce messages or out-of-office notifications), set up your mail server to use SMTP AUTH to identify the sending domain or to present one of your domain names in the HELO or EHLO command.

Authentication:
-> Check one or both boxes to set an authentication method:
-> Only accept mail from the specified IP addresses—The system accepts only messages sent from IP addresses that you specify.
-> Require SMTP Authentication—Enforces SMTP authentication to identify the sending domain (connection through TLS required). SMTP authentication verifies the connection by checking the user's Google Workspace email address and password.
-> If you select the specified IP addresses option:
- Click Add.
- Enter a description and the IP address or range in IPv4 or IPv6 format.
Use your own public IP address. You can specify up to 65,536 IP addresses in one range. For security reasons, we recommend that you keep the IP range as small as possible. - Check or uncheck the Enable box to enable or disable the IP address or range.
- Click Save.
- To add more IP addresses or ranges, repeat the steps.

Encryption
-> (Optional) To require TLS for connections between your server and Google, check the Require TLS encryption box.
Important: If your email server doesn't support TLS and you check this box, messages not sent over an encrypted TLS connection are rejected.

Step 5: Click "Save" to save your SMTP relay settings.
Changes can take up to 24 hours but typically happen more quickly.
Once you have set up SMTP Relay in G Suite, you can configure your devices or applications to use the SMTP relay service to send emails. You will need to configure the SMTP server settings in your devices or applications to point to the SMTP relay service endpoint that you configured in the G Suite Admin console.
It's important to note that SMTP Relay is only available to G Suite Business, Enterprise, and Education customers. Additionally, there are limits on the number of emails that can be sent through the SMTP relay service each day, so it's recommended to monitor your usage and adjust your settings if necessary.
Please find the Google article for your reference.