An inbound mail gateway is a mail server that processes inbound email in some way before messages are delivered to recipients. For example, inbound gateways typically check for spam, archive messages, and scan for harmful attachments or software. Inbound gateways are useful for larger organizations with a lot of emails. The processing that gateways perform frees up primary email servers to deliver messages to recipients.
Specify the inbound mail gateway IP address, or range of IP addresses, in the Inbound gateway setting. Gmail doesn't do SPF or DMARC checks on incoming messages from the IP addresses you specify in the setting.
Optionally, you can set up the gateway to:
- Automatically detect the external IP.
- Reject messages that aren't sent from the gateway.
- Require that connections from the gateway use Transport Layer Security (TLS).
- Manage spam based on gateway message tags.
Important: Inbound gateway settings don't support private IP addresses.
Before you begin
Before you set up your inbound gateway, point the MX records for your domain to the gateway.
Set up an inbound gateway
Set up the gateway to deliver messages to Gmail servers. Configuration steps differ depending on your gateway server.
- From the Google Workspace Admin console, go to Apps
- This will open up Google Workspace, then Select Gmail
- This will open the Gmail settings from that select Spam, Phishing, and Malware
- On the left, select your top-level organization
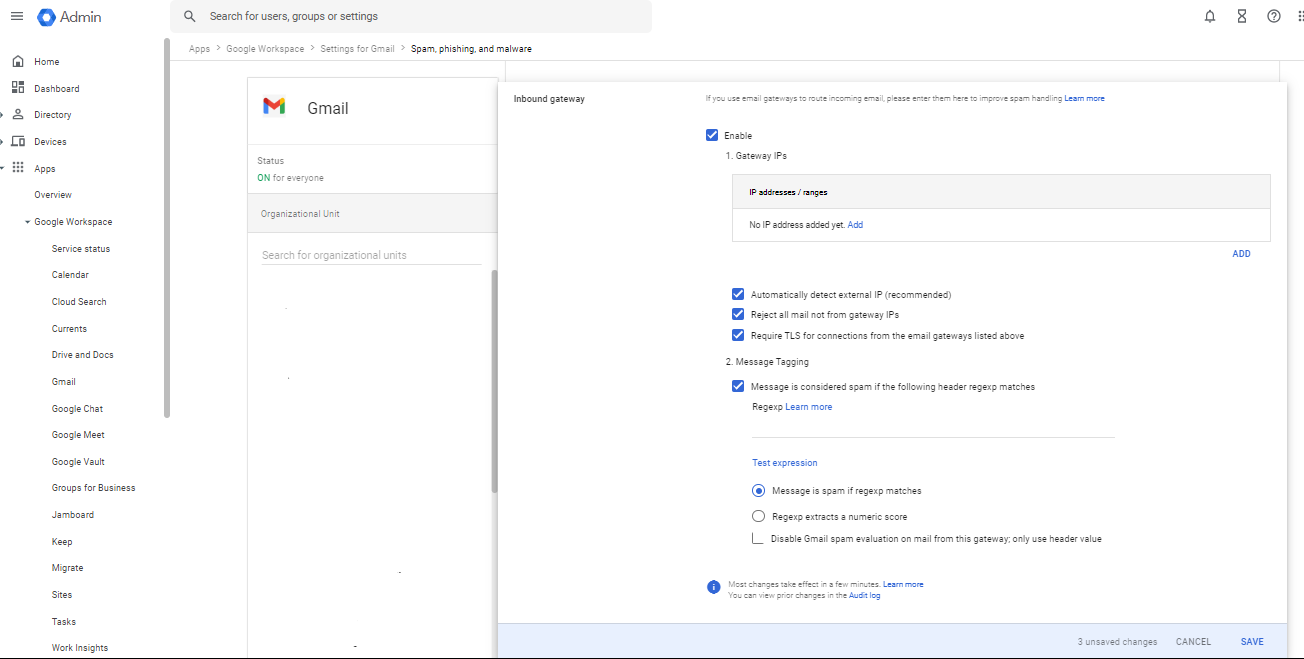
- Scroll to the Inbound gateway setting and click on it.
- Click on the Enable checkbox.

- The Inbound gateway settings open on the page

- Take these steps in inbound gateway settings:
|
Setting |
What to do |
|
1. Gateway IPs |
Set up the IP addresses and options for your gateway:
|
|
2. Message tagging (Optional) |
To set up message tagging options, check the Message is considered spam if the following header regexp matches box.
|
- At the bottom, click Save.
Changes can take up to 24 hours but typically happen more quickly.
- Verify that incoming messages are delivered as expected:
- After the Time to Live (TTL) has expired for the MX records, send a message to a user in your domain.
- Confirm the inbound gateway server processes the message, and the recipient gets the message in their inbox.
For more information please refer to the link