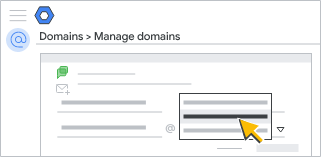
Before updating the user profile we need to add the secondary domain in the admin console.
Steps to update the user profile for a single user:
- Sign in to your Google Workspace Admin Console.
- Go to Menu
>>
Directory >> Users.
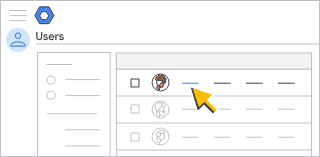
- In the Users list, find the user.
Note: Only the primary domain or any additional (secondary) domains you added to Google Workspace are available for the email address. You can't use another domain, such as gmail.com.
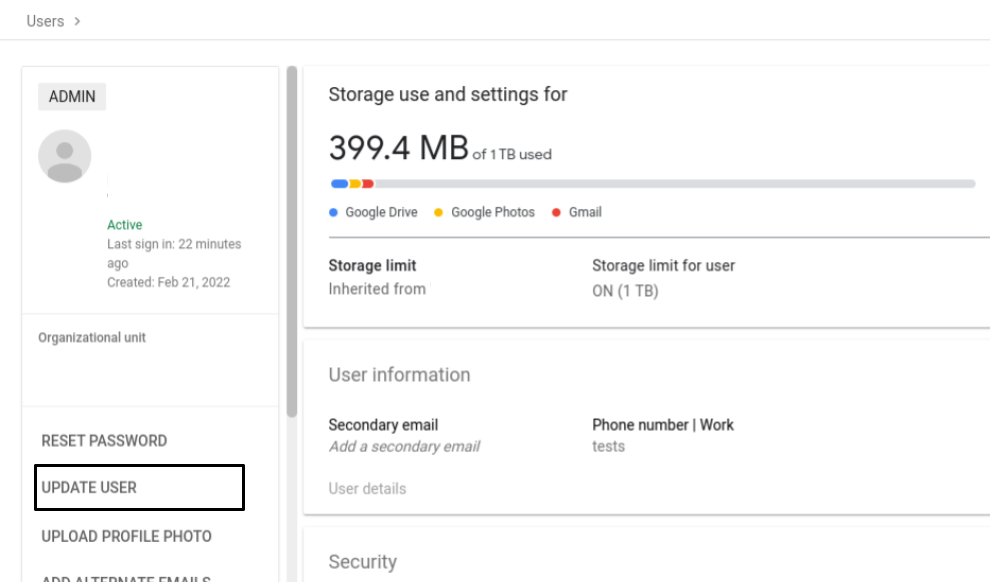
6. Click on Update user to save the changes.
Bulk update user domain:
- Download user sheets
- In the Admin console, go to Menu
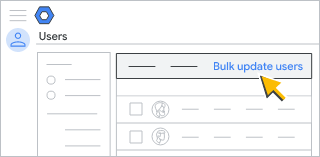
- At the top of the page, click Bulk Update users.


- Add user's email addresses
- Under Your Tasks, click Download CSV.
- (Optional) Remove users from the spreadsheet that you don’t want to rename, including the username that you used to sign in.
- Copy the full list of user email addresses from the Email Address column and paste it into the New Primary Email column.
- Select the New Primary Email column.
- Click Edit
Find and Replace.
- In Find, enter the old primary domain.
- In Replace with, enter the new primary domain.
- Click Replace all.
- Save the spreadsheet as a CSV file.
- Upload sheets
- In the Admin console, go to Menu >> Directory >> Users.
- At the top of the Users page, click Bulk update users.
- Click Attach CSV file.

4. Browse to the location on your computer and attach the CSV file.
5. Click Upload.
6. If there's an error, enter the missing information in your spreadsheet and upload the file again. For more information, go to common errors.
Your Tasks list opens automatically and shows the progress of the upload. Once processing is complete, you'll receive an email report.
After you change an email address...
- The user must now sign in to their Google Account with the new email address.
- The user continues to receive mail sent to the old email address (it becomes an email alias).
- Continue to access emails, files, and data associated with the old address
Note: If a user has the maximum number of aliases (30), you can't rename the user.
For more reference kindly refer to the article