Set up a Calendar so users can book shared resources, such as rooms, projectors, company cars, or bicycles. To make it easy for your employees to find and book the resources they need, it is best practice to add as much detail as possible. Your users will see details like the building and floor where a room or resource is located, and the key features, such as video conferencing equipment or whiteboards
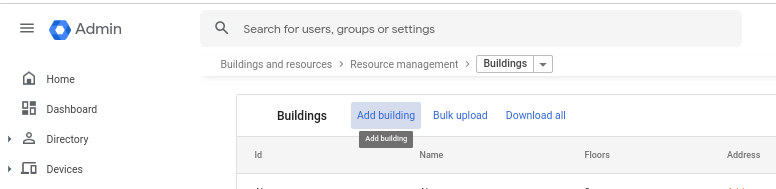
Step 1: Add buildings
Start by listing all the buildings in your company. Google Calendar uses buildings as the foundation for all your resources.
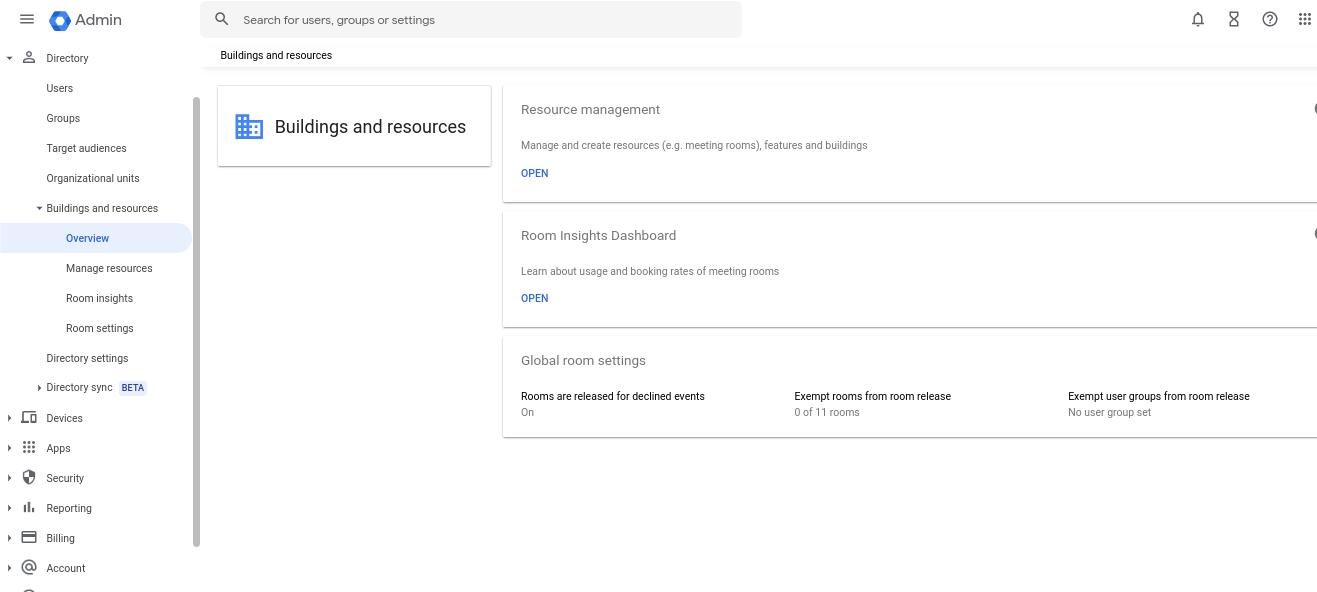
- In the Admin console, go to Menu > Directory >Buildings and resources.


6. To add the address:
- Click Edit address.
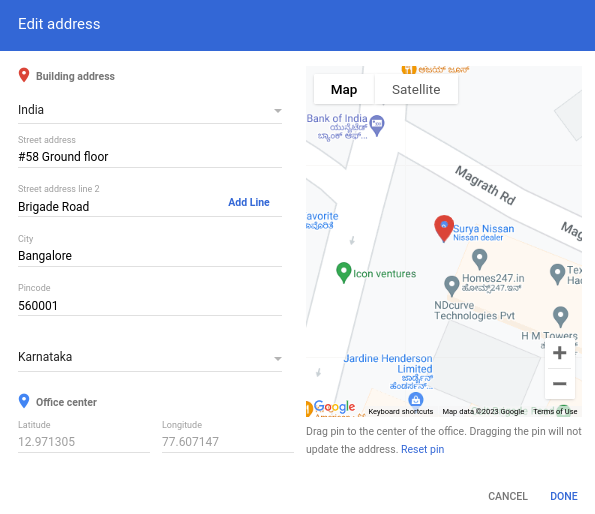
- Enter the address information for each location using the official postal address format for its region. The Google map panel on the right shows a pin at the address. Addresses associated with a known business location will be stored using the local language. Note: Building addresses are not used for map navigation.
- If needed, drag the pin to the best or correct location. We recommend that you place the pin at the center of the building's rooftop. The latitude and longitude fields appear.
- Click Done.
Step 2: Add audio, video, or other features
If you want people to know what equipment or other features come with a room or other resource, add them using the Admin console. For example, you might want to let people know which rooms have a Jamboard, or which company cars have a navigation system.
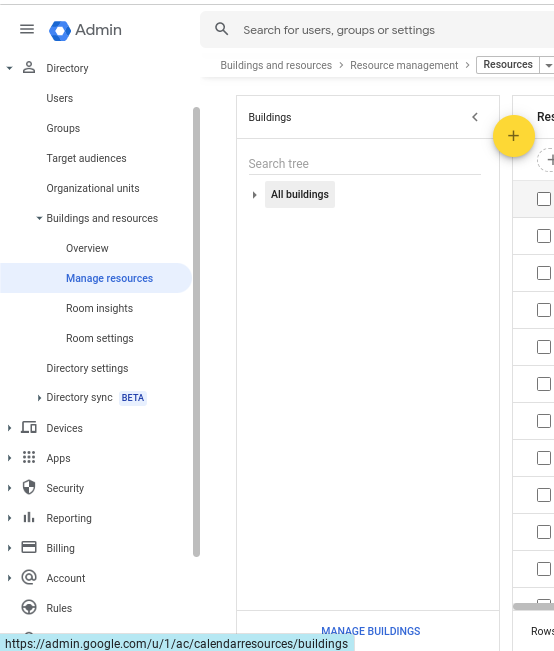
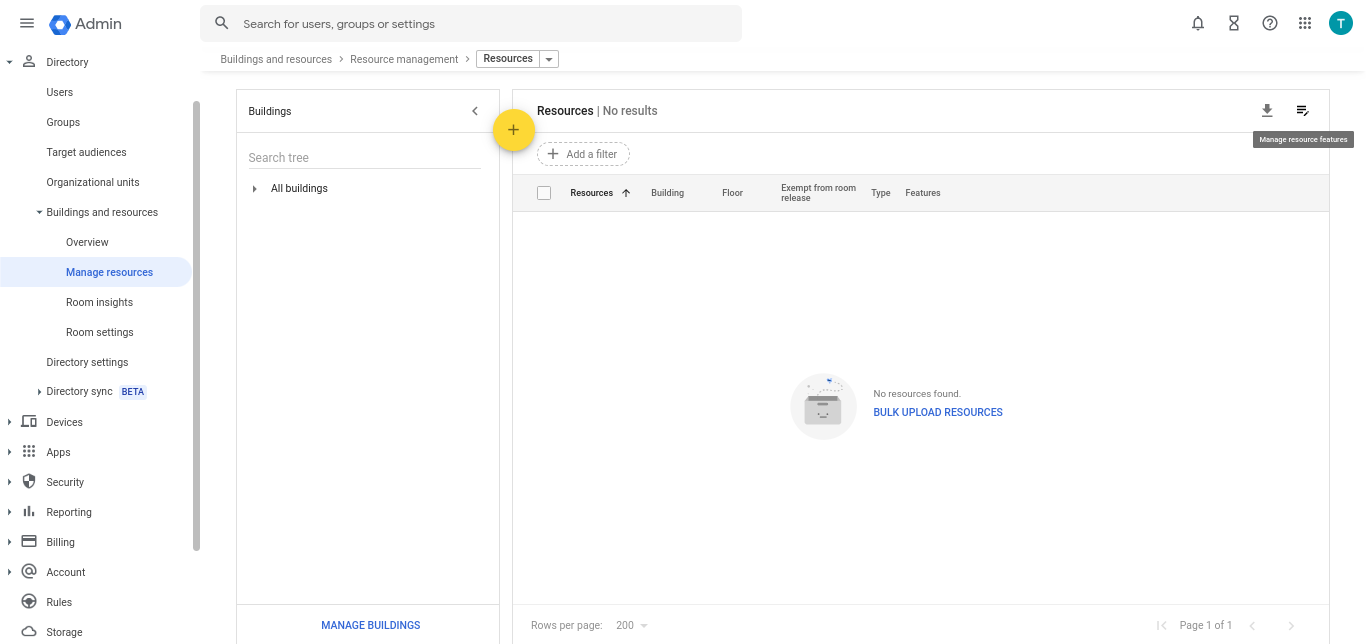
- In the Admin console, go to Menu and point to Directory >Buildings and resources.
- In the Resource Management section, click Open.
- Click Manage > Manage resource features.
- Click Add Feature.
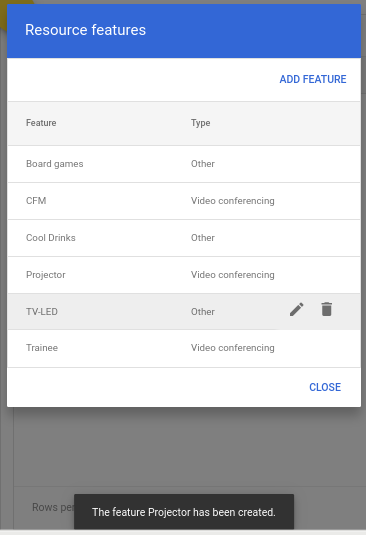
- Enter the feature name and choose the type:
- Other: Not videoconferencing or telephony (for example, Whiteboard, Wheelchair accessible, or External guests)
- Videoconferencing: Video communication equipment (for example, VC or Cisco conferencing unit)
- Telephony: Audio communication equipment (for example, phone)
- Click Save.
After you add a feature, you can add it to a resource by clicking on the resource features. Users can search for and add features to the selected resource.
Step 3: Add resources
Next, add anything people can reserve: conference rooms, company cars, mother's rooms, or whatever your company provides for workers. If you created features in step 2, you can associate them with the resources as you add them.
Note: Resources are typically available within a few minutes of being added. In some cases, however, it might take up to 24 hours for them to become available on everyone's calendar.
- In the Admin console, go to Menu > Directory > Buildings and resources.
- In the Resource Management section, click Open.

- Point to and click Add +.
- Enter the resource information. Select one of these types:
- Conference room: Resources used for meetings or conferences that can be as small as a phone room.
- Other: Resources that aren’t used for meetings. For example, a bicycle or company car.
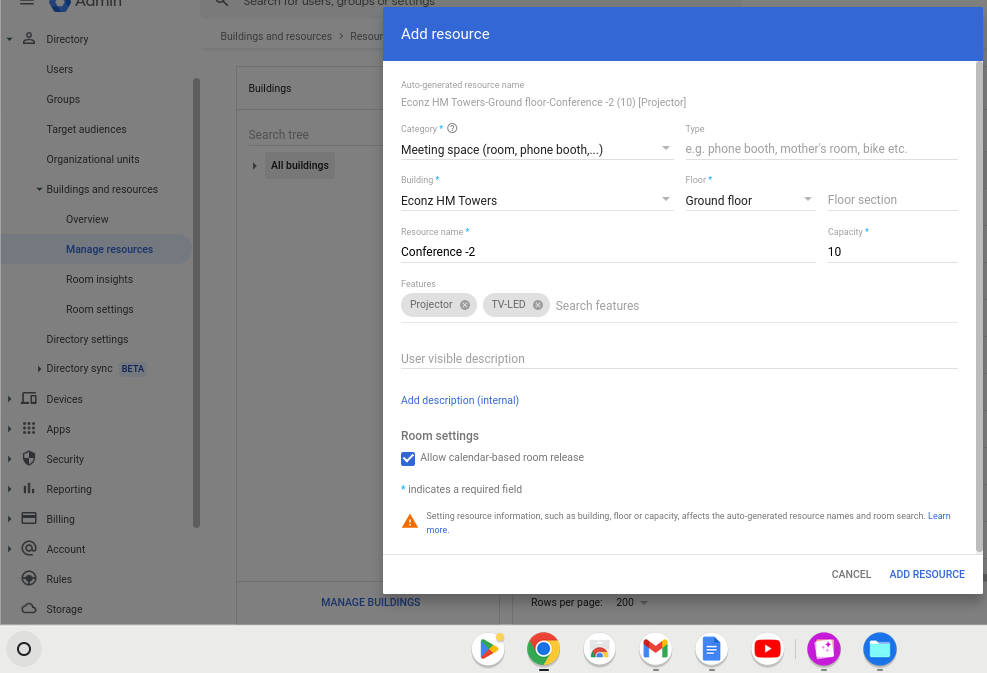
5. Click Add Resources.
Please find the support article to get further details on the same.