Your users might want to send and receive mail from other email clients, for example Microsoft Outlook or Apple Mail. This article has steps for admins and users to set up Gmail with another mail client.
Before you begin: Turn on IMAP in the Admin console
To let your users sync Gmail with third-party mail clients, turn on IMAP in the Admin console by following the steps in Turn POP and IMAP on and off for users.
These steps are the same whether you're adding your first Gmail account or additional Gmail accounts to Outlook.
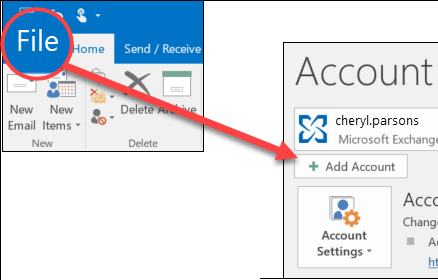
- Select File > Add Account.
- Enter your email address and click Connect.
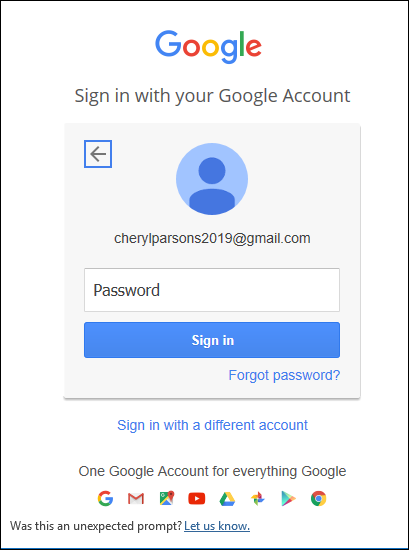
- Outlook will launch a Gmail window that asks for your password. Enter the password and select Sign in.
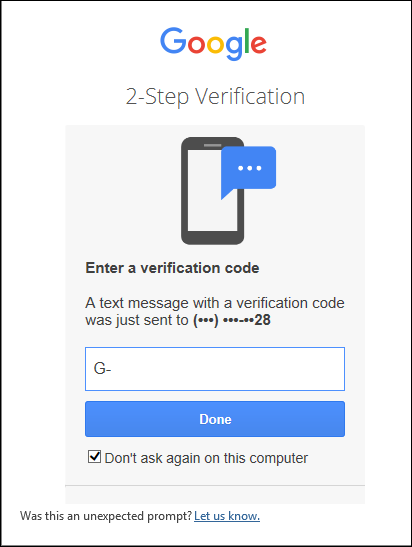
Important: Once you connect your Gmail account to Outlook, you may receive a warning message in your Gmail inbox telling you that a new logon from Internet Explorer was detected. This is expected behavior. - If you have previously enabled 2-factor authentication for Gmail, you'll be prompted to enter the code sent to your mobile device. If you haven't enabled 2-factor authentication, skip to step 6.
- The Google account permissions window appears. Click Allow.
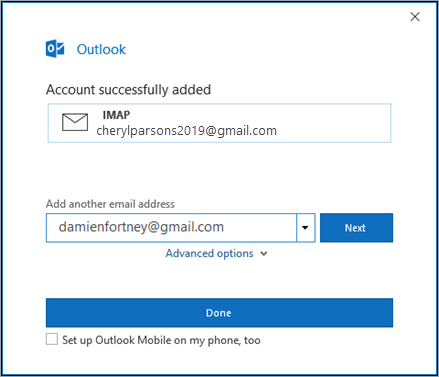
- Once Outlook finishes adding your Gmail account, you can add another email account or select Done.


Set up Gmail with older versions of Outlook and other clients
if you must use Gmail with older versions of Outlook, or other mail clients that don't support OAuth, follow the steps in this section
These are examples of mail clients that don’t support OAuth:
- Outlook versions earlier than Outlook 2016
- Apple iOS Mail versions earlier than Mail 8.3
- Apple Mail versions earlier than Mail 9.3
Step 1: Turn on Less secure apps
To use earlier versions of Outlook and other mail clients that don’t support OAuth, turn on Less secure apps:
Step 2: Create and use App Passwords
This step is only for users who need 2-step verification to sign into an email client that doesn't accept verification codes. These users need application-specific passwords to access the mail client.
Generate App password
- Login to Gmail.
- Manage google account
- Security
- Click on app password > Login
- Click on Choose Application option and select mail
- Click on choose device and select the os, if it is chrome os or any other not listed os select other and enter the os name.
- Click on Generate
- Copy the password and use this password while configuring outlook.
Step 3: Turn on IMAP in Gmail
Turning POP and IMAP on for user’s
- . Enable IMAP & POP.
- Login to Gmail.
- Go to Settings by clicking on the gear icon.
- Select forwarding and POP/IMAP.
- Enable IMAP or POP
Step 4: Set up Gmail with the older version of Outlook
Important:
- The email addresses and domains shown in these steps are examples. Replace them with your own email address and domains.
- These steps and screenshots are for older versions of Outlook, but you can use the values shown in these steps with other mail clients.
- Read more about the settings for syncing Gmail with another mail client.
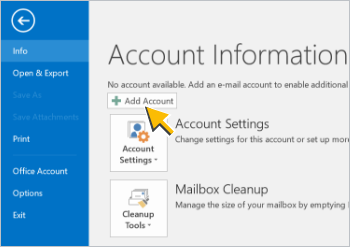
- Click Add Account:
- Select the Manual setup or additional server types option, then click Next:
- Select the POP or IMAP option, then click Next:
- In the Add Account window, enter these values:
- Your Name: The name you use with your Google Workspace Gmail account
- Email Address: Your Google Workspace Gmail address
- Account type: IMAP
- Incoming mail server: imap.gmail.com
- Outgoing mail server (SMTP): smtp.gmail.com
- User Name: Your Google Workspace Gmail address
- Password: Your Google Workspace Gmail password
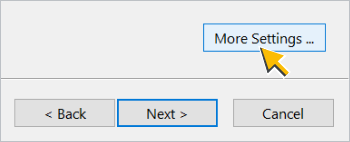
- Then click More Settings…
- In Internet E-mail Settings, enter these values in the General tab:
- Mail Account: Your Google Workspace Gmail address
- (Optional) Organization: Your company or school name
- (Optional) Reply E-mail: A reply email address, if it’s different from your email address
- Then click the Outgoing Server tab.
- If it is POP - Incoming Mail (POP) Server: pop.gmail.com


Requires SSL: Yes
Port: 995
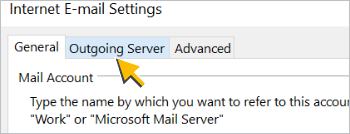
- In the Outgoing Server tab:
- Check the My outgoing server (SMTP) requires authentication box.
- Select the Use same settings as my incoming server option.
- Then click the Advanced tab.
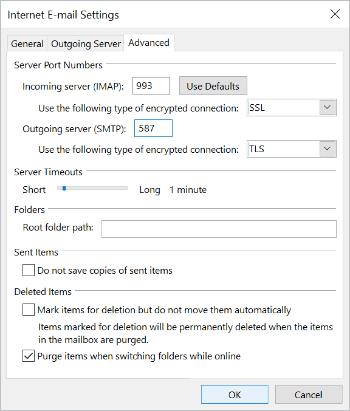
- Enter these values in the the Advanced tab:
- Incoming server (IMAP): 993
- Use the following type of encrypted connection: SSL
- Outgoing server (SMTP): 587
- Use the following type of encrypted connection: TLS
- Note: If you change the Outgoing server (SMTP) encrypted connection type to SSL, enter 465 in the Outgoing server (SMTP) field (instead of 587).
Then click OK.

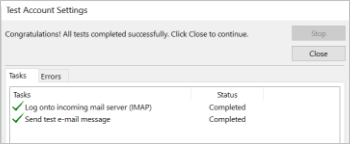
Outlook tests your settings and then shows a message when your account is correctly set up:

Please ensure to Select the Outgoing Server tab. Check My outgoing server requires authentication.
Please find the support article to get further details on the same.