As an administrator, you can use Common UNIX Printing System (CUPS) printers with your organization’s ChromeOS devices. CUPS uses an Internet Printing Protocol (IPP) to print to local and network printers. You can also track print jobs and printer usage in your organization.
You can add and specify a printer for everyone, or for users or devices in certain groups or departments.
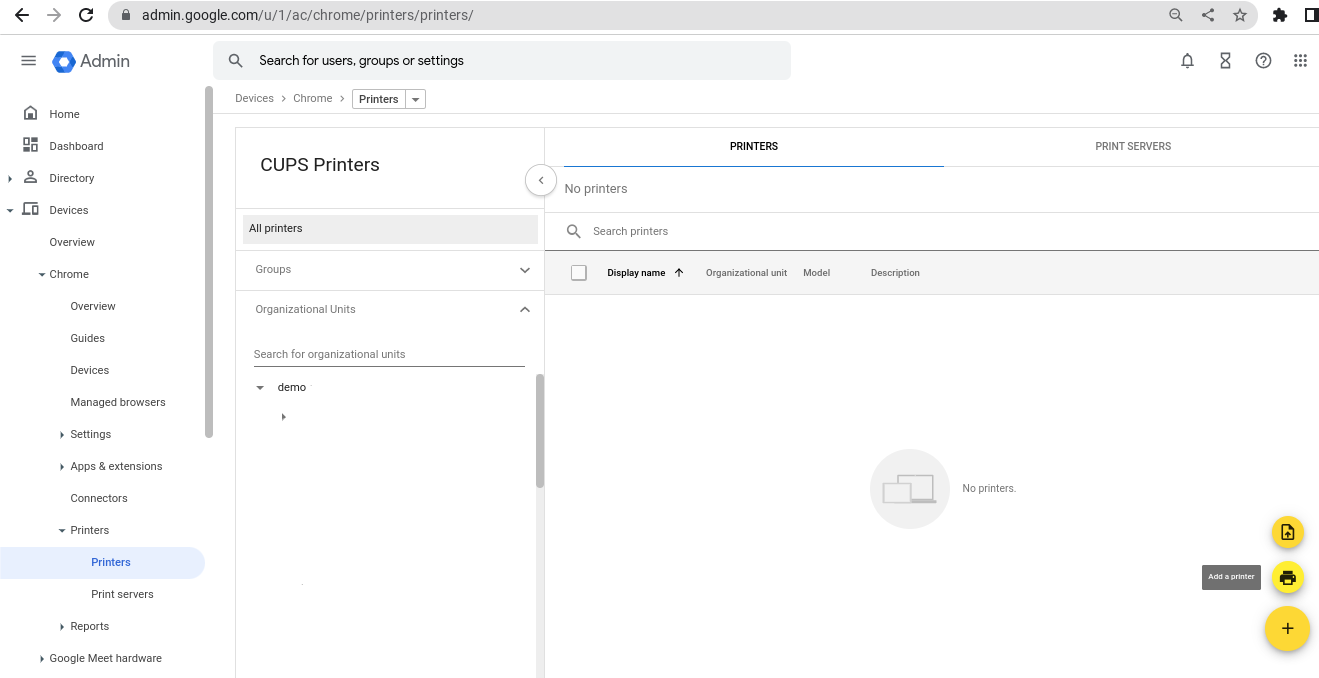
Step 1. Add a printer
The following steps describe how to add a printer.
- In the Admin console, go to Menu, Select Devices and click on Chrome and then click on Printers and select Printers

2. Select the organizational unit or group to which you want to add the printer.
3. At the bottom right, point to the Plus Symbol and click Add a printer.
Note: Some printers might need a queue name defined in the path, as well as the host address and port in the URI. For example, ipps://192.0.2.255/ipp/print. Contact your manufacturer for the correct path.
Protocol: ipps
Host: 192.0.2.255
Port: 631
Path: ipp/print

You do not have to enter a printer make and model. The printer provides all the details of the device.
5. Click Add Printer.
6. Please find the support article to get further details on the same.
Step 2. Remove a printer
The following steps describe how to remove a printer.
- In the Admin console, go to Menu, Select Devices and click on Chrome and then click on Printers and select Printers
2. Select the organizational unit or group where the printer was added.
3. Check the box next to the printer you want to remove.
