You can use the data migration service to easily import data into your Google Workspace account using the Google Admin console. All migrated data is copied, not moved or deleted, so you can still access the data in your source account after a migration. Depending on your source account, you can use the data migration service to migrate email, calendar, and contact data.
Note: You can’t migrate the calendar and contact data if your source account is a Google Workspace account or a personal Gmail account.
Make sure that your source account is active. The data migration service can't migrate data from a suspended account.
Migrate email with the data migration service
Migrate from Google Workspace
Prepare your source account
You need to
-
Make sure that your old Google Workspace account is active. The data migration service can't migrate data from a suspended account.
-
Turn IMAP on for users. For details, go to Turn POP & IMAP on and off for users.
-
If you have 2-Step Verification or single sign-on (SSO) turned off Enable Less Secure Apps for the data migration service. (Not recommended)
-
If you have 2-Step Verification or single sign-on (SSO) turned on, generate an App Password for the data migration service. You'll use it later in the Google Admin console when you're migrating mail. For details, go to Sign in with App Passwords.
Your users need to
-
In their old Google Workspace account, sign in to Gmail.
-
In the top corner, click Settings > See all settings.
-
Click Forwarding and POP/IMAP.
-
Under IMAP access, select Enable IMAP.
-
Under Folder size limits, select Do not limit the number of messages in an IMAP folder (default).
-
Click Save Changes.
Note: If you saved any changes, you need to repeat step 2 to return to Settings. -
Click Labels.
-
Make sure that any label that needs to be migrated has the Show in IMAP box checked.
Set up the data migration service for the Google Workspace account
-
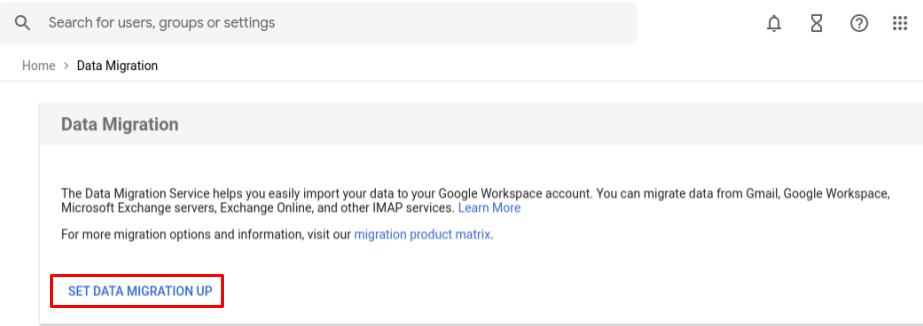
In the Admin console, go to Menu > Account > Data Migration.
-
Click Set Data Migration Up.
-
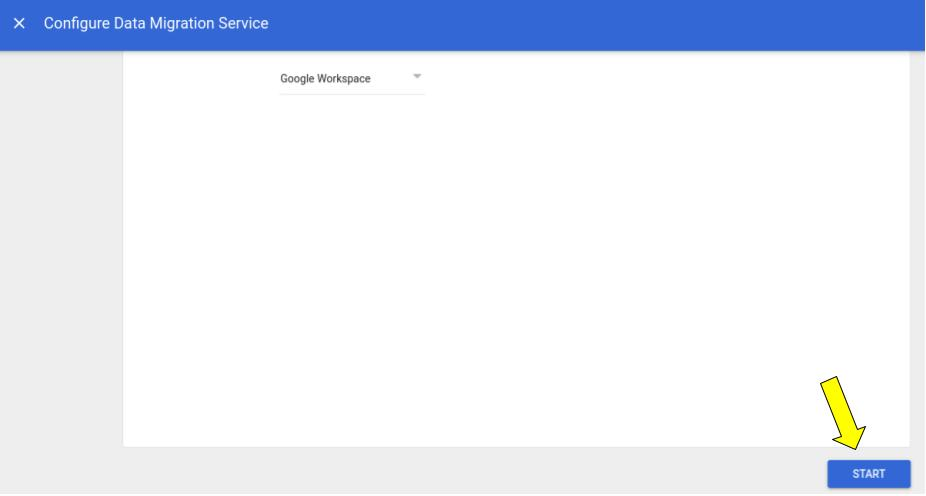
For Migration Source, select Google Workspace.
-
Click Start.
-
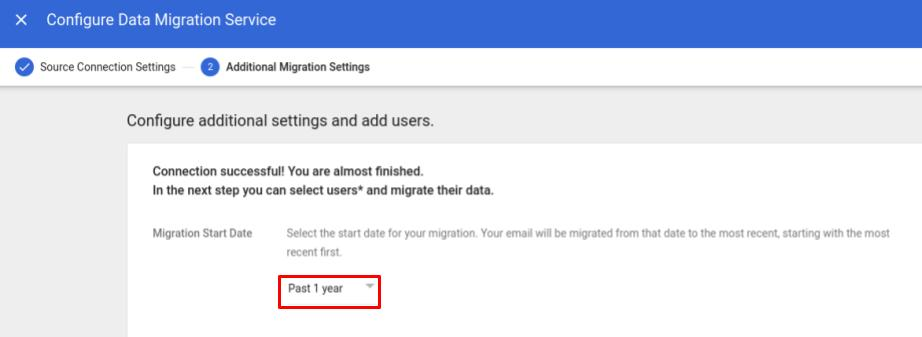
For Migration Start Date, Select the start date for your migration. Your email will be migrated from that date to the most recent, starting with the most recent first.
-
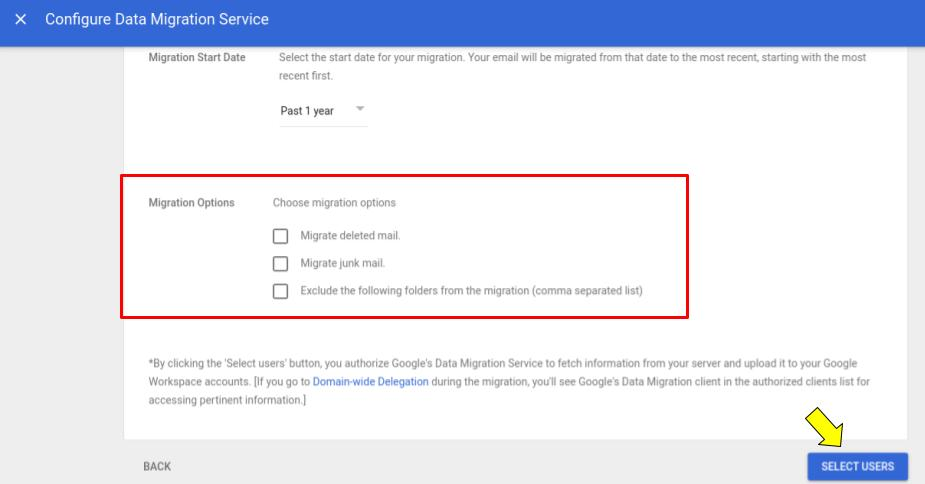
For Migration Options, accept the options that appear or choose to exclude some data.
-
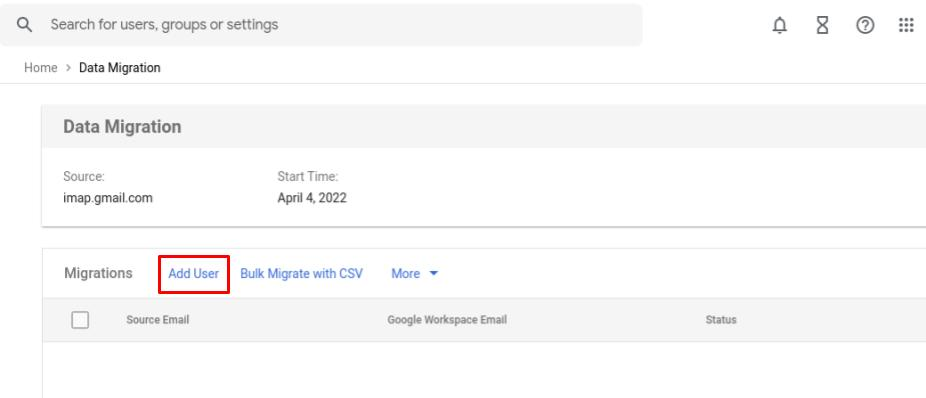
Click Select Users.


-
Click Add User.
-
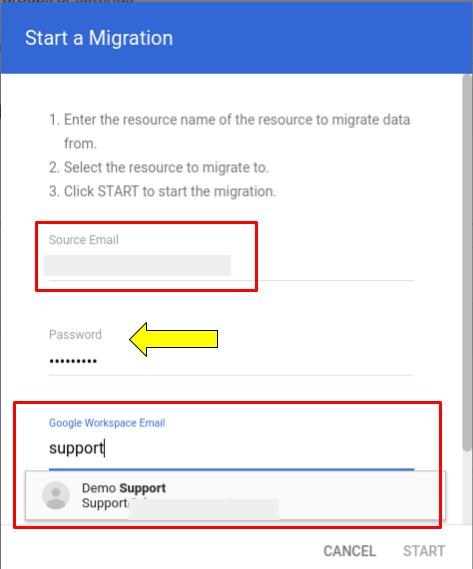
For Source Email, enter the user's Google Workspace email address on the source account.
-
For the Google Workspace Email field, start entering the destination Google Workspace email address and choose from the list of suggested users.
-
For the Password field, enter the user's password/App password for their source email account.
-
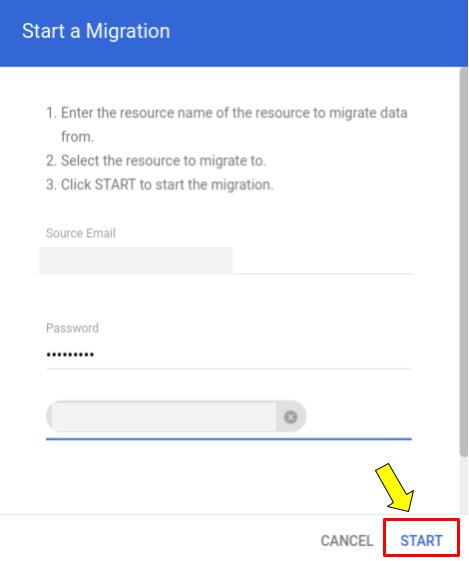
Click Start.
-
(Optional) To migrate another user's email, repeat these steps.
Migrate from your personal Gmail account
-
Complete the steps in Prepare your source account.
-
Have the user whose data you're migrating available to sign in to their Gmail account and allow you to migrate data. After they authorize, you have 10 minutes to enter the user's new email address and start the migration before the authorization expires.
Set up the data migration service from your personal Gmail account to a Google Workspace account
-
In the Admin console, go to Menu > Account > Data Migration.
-
Click Set Data Migration Up.
-
For Migration Source, select Gmail.
-
Click Start.
-
For Migration Start Date, Select the start date for your migration. Your email will be migrated from that date to the most recent, starting with the most recent first.
-
For Migration Options, accept the options that appear or choose to exclude some data.
-
Click Select Users > Add user.
-
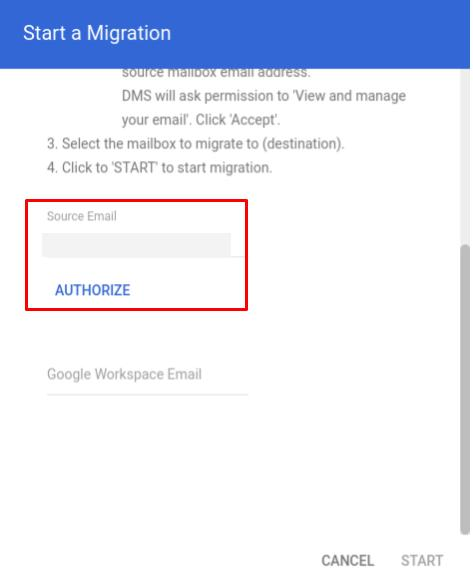
For Source Email, enter the user's Gmail address.
-
Click Authorize.
-
-
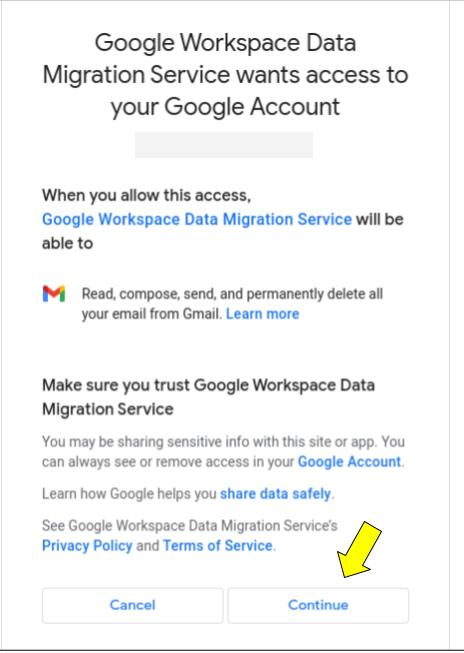
The Gmail account owner is prompted to sign in to Gmail.
-
The Gmail account owner must review the request for permission to view and manage their mail and click Allow.
-
-
-
For Google Workspace Email, start entering the user's new Google Workspace email address and choose from the list of suggested users.
-
Click Start.
You have 10 minutes to enter the user's new email address and start the migration before the authorization expires. -
(Optional) To migrate Gmail for another user, repeat these steps.

Supported email features
These features apply across all source accounts.
|
Email data |
Notes |
|
Email messages |
All email in top-level folders is migrated. A top-level folder is any folder that is at the same level as your inbox folder. You can exclude some types of email messages and top-level folders from migration. For details, go to Exclude data that doesn't need to be migrated. |
|
Email states, such as read or unread |
|
|
Deleted items |
Migration is optional and can be excluded. Deleted items are labeled Trash in Gmail. |
|
Junk email |
Migration is optional and can be excluded. Junk email is labeled Spam in Gmail. |
|
Large messages and attachments |
Most attachments are migrated, unless the message plus attachment is larger than 25 MB, or when Gmail blocks certain types of file attachments, such as executable files. For details, go to File types blocked in Gmail. |
|
Message flags |
Flags appear as stars in Gmail. |
Supported Google Workspace & Gmail email features
|
Email data |
Notes |
|
Gmail labels |
Labels are replicated. Emails located in the Inbox label of the source account transfer to the Inbox label of the destination account. |
Unsupported email features
|
Email data |
Notes |
|
Rules or filters |
Rules (both server and client) or filters aren’t migrated but you can create equivalent filters in Gmail. |
|
Signatures |
Signatures aren’t migrated but can be recreated in Gmail. |
Please check the below-supporting article for your further reference:
About Data Migration Service - Google Workspace Admin Help